Work
Parties & Maintenance
Replace Main, Rod and Cam Bearings
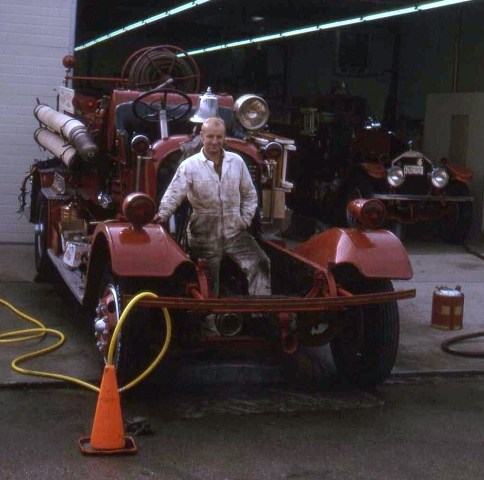
Standing in the engine compartment
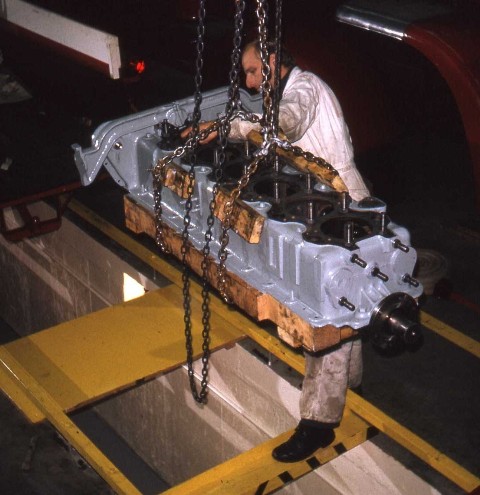
Crankcase ready to go back in frame
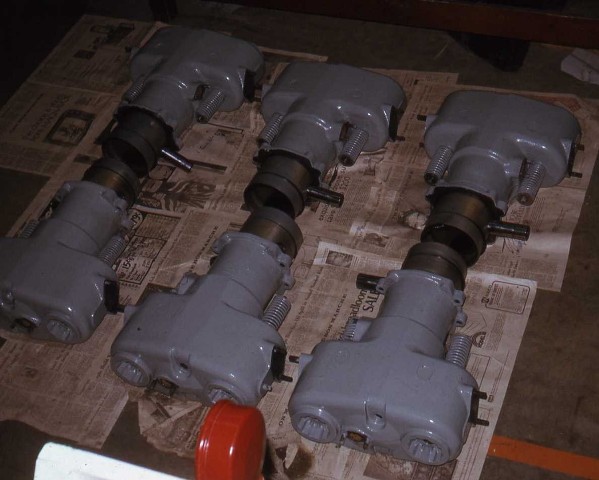
Cylinders and pistons ready

Small parts cleaned, painted and ready to re-install
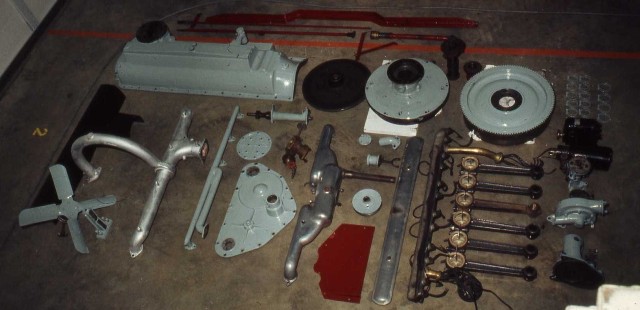
Oil pan, flywheel, clutch, connecting rods, manifolds and accessories

Crankcase re-installed in frame
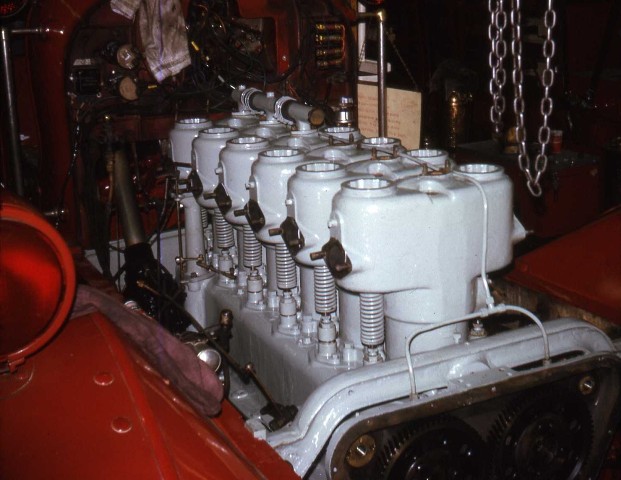
Cylinders, lifters, valves and springs
re-installed
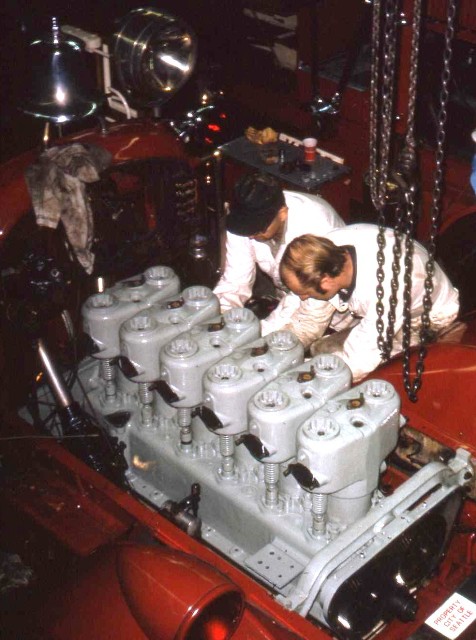
Adjusting valves
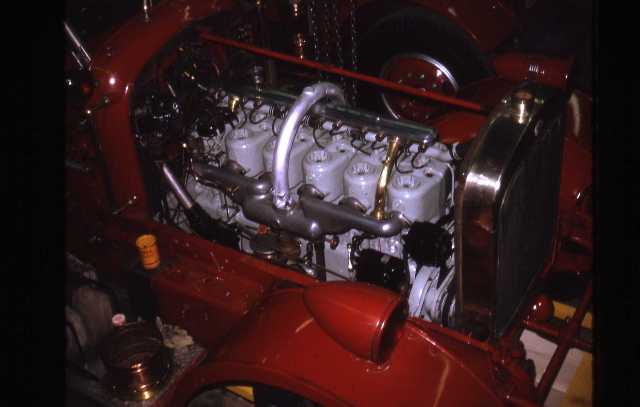
Almost finished - install 18 spark plugs and it's done!
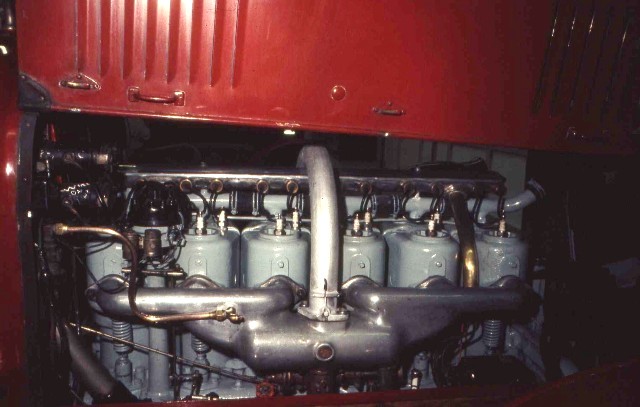
Job completed - showing intake side
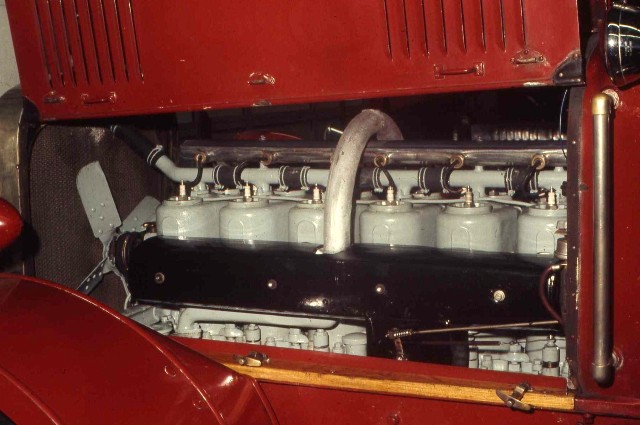
Job completed - showing exhaust side

~Apparatus 12 ~
Regular "Preventive Maintenance"
including radiator repair & brake reline
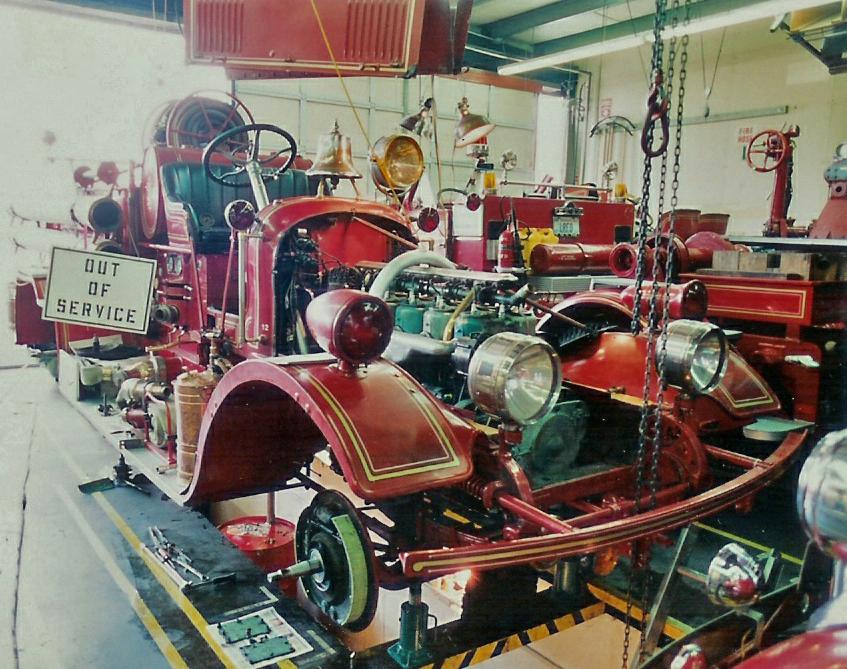 ,
,
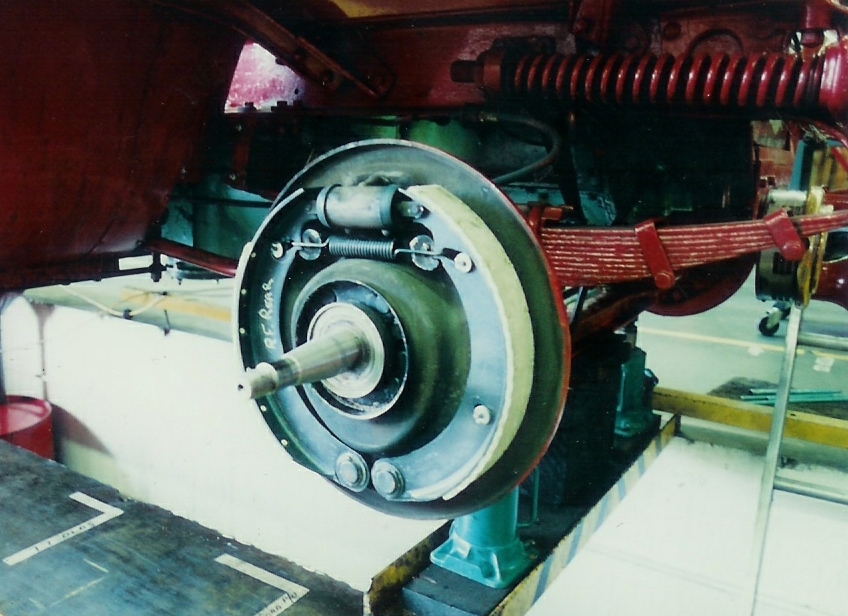

~ Apparatus 119 ~
Rod & backflush radiator
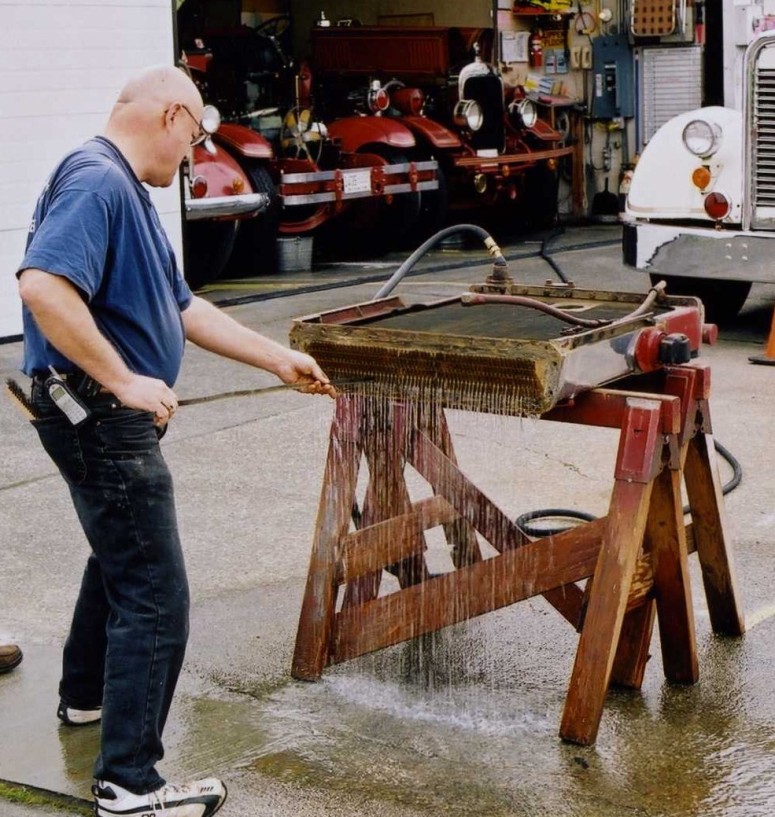
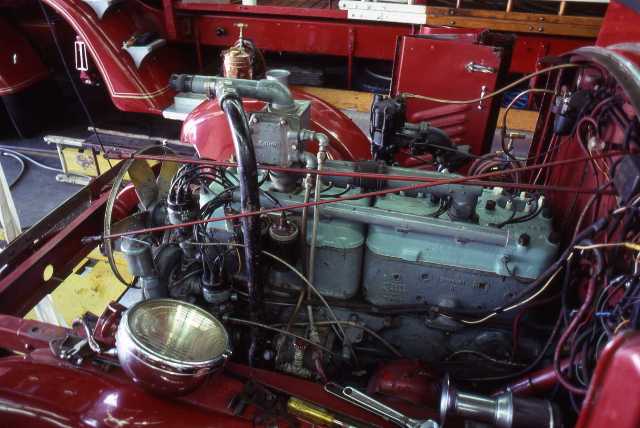

~ Apparatus 126 ~
Grind valves & seats
and paint engine
.jpg)
Cleaning parts in preparation for re-assembly
.jpg)
Valve lifters
cleaned and ready for painting
.jpg) Valves cleaned and ground
Valves cleaned and ground
.jpg) Valve seats ground
Valve seats ground
.jpg)
Engine painted and ready for re-assembly
.jpg)
Valves, lifters and springs installed
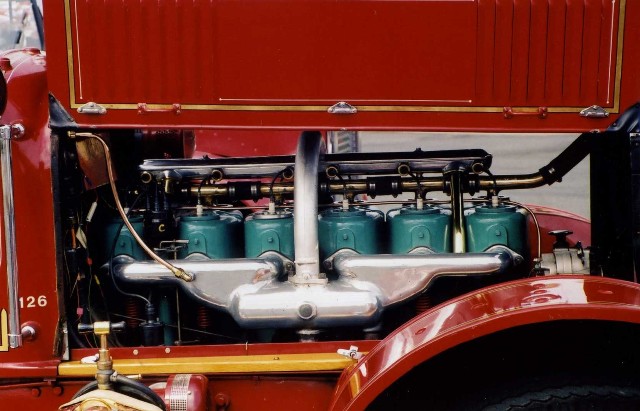
Job completed

~ Apparatus 128 ~
Complete ground-up restoration - 1976-77
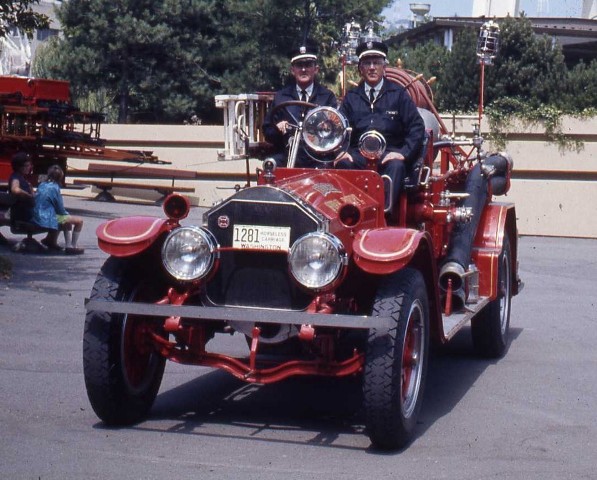
Prior to restoration - 1971
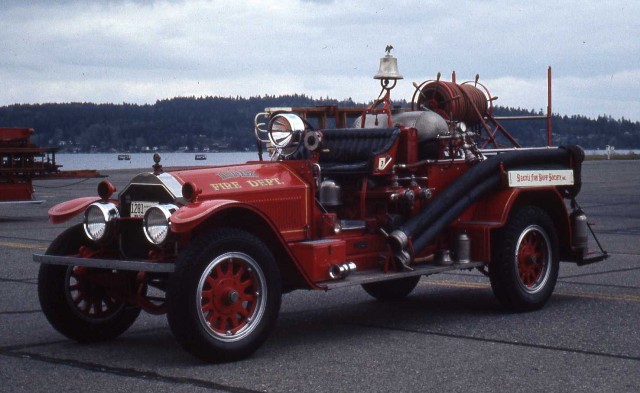 We say good-bye to the old deteriorating paint
with its nicks & scratches, and various shades of red
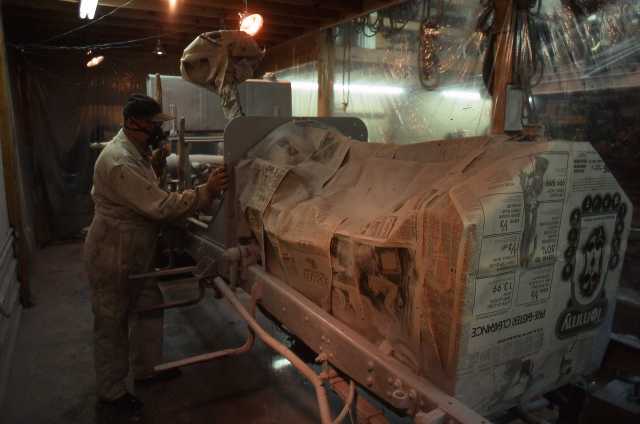 Rig
disassembled and chassis up on blocks in our "spray booth"

Getting ready to apply the first coat of primer
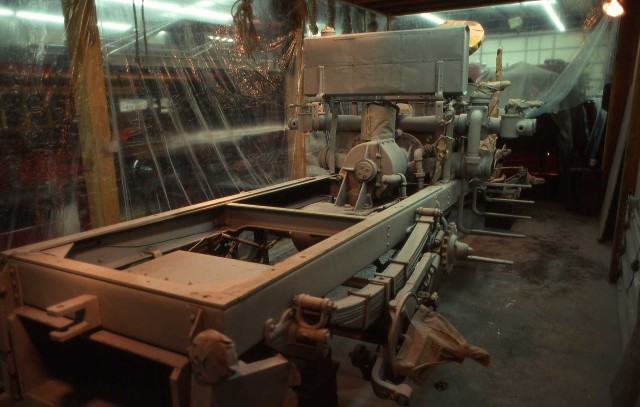 First coat of gray primer applied

Next
will be the new high-gloss finish coats
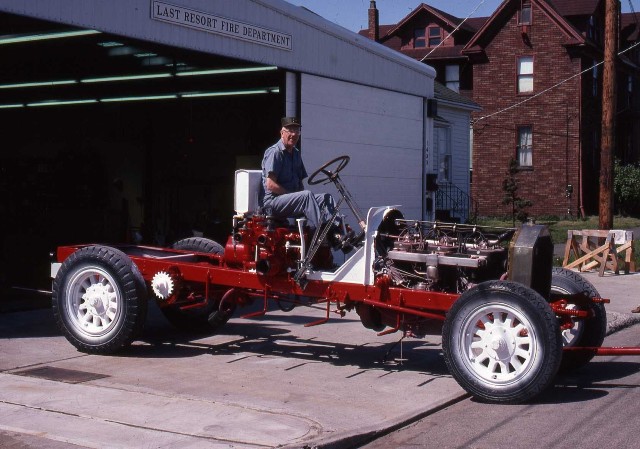 Red and white finish coats
are completed on frame, fuel tank, firewall and wheels
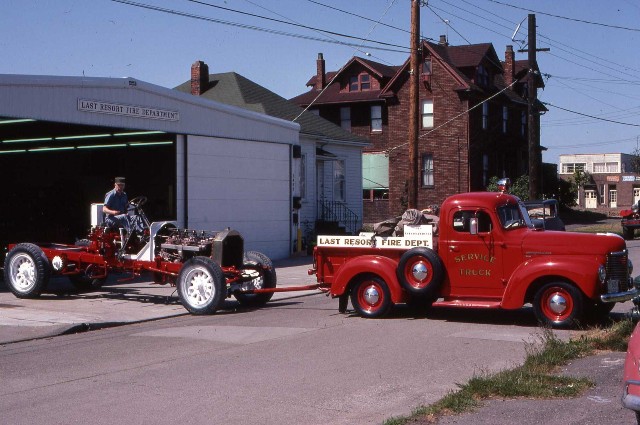
Rig is towed out of spray booth and repositioned in Shop
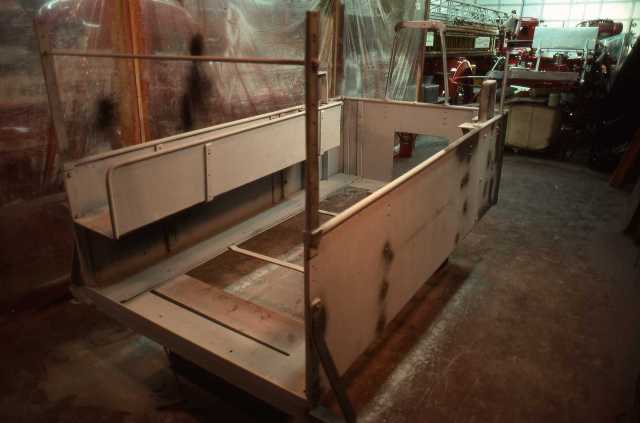
Hosebed being prepared for painting
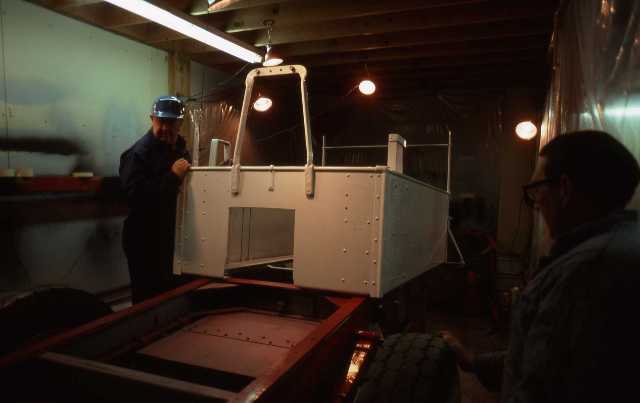
Hosebed being re-installed on chassis
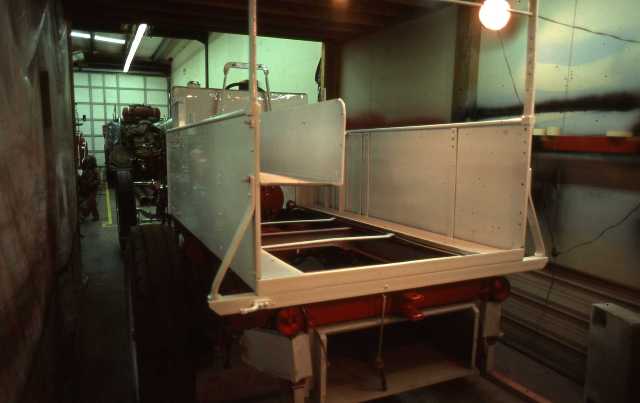
After a lot of hard work, it's beginning to look a little like a fire
engine again
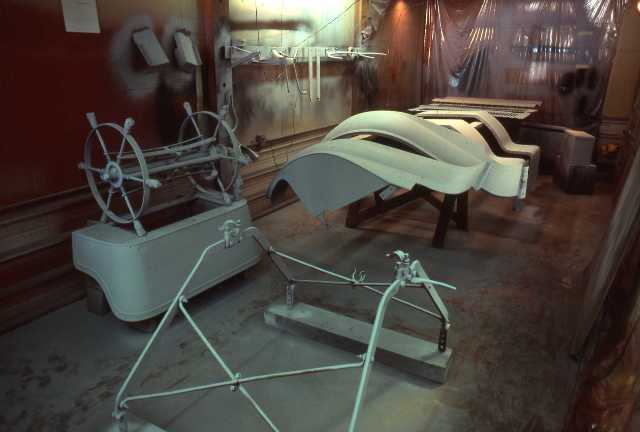
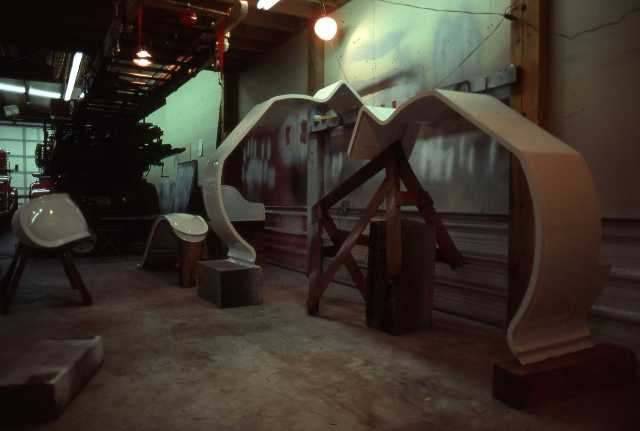
Hoods, fenders, seat, battery box, tool box and hose reel primed
White finish coat applied to fenders and seat
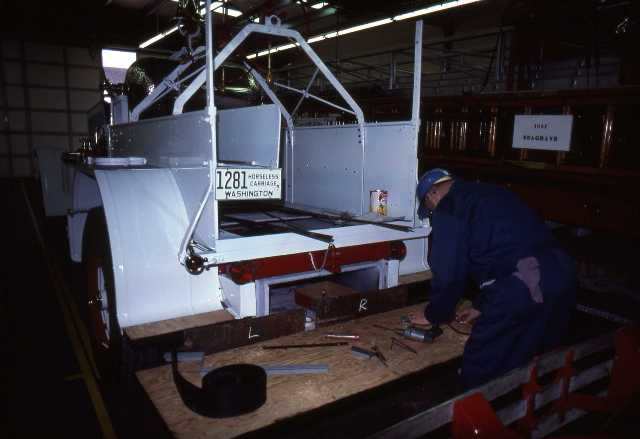
Running boards and tailboard are completely rebuilt
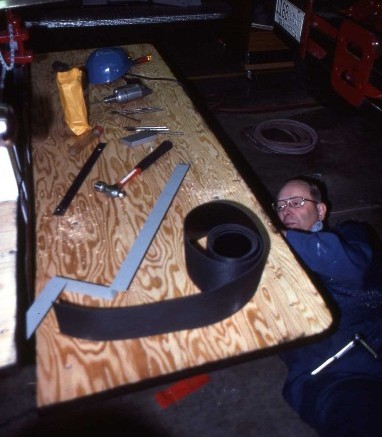
Putting the finishing touches on the new tailboard
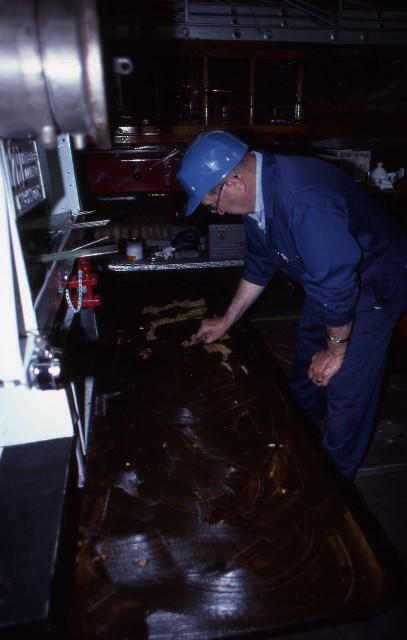
Adhesive being applied to tailboard - next will be the new rubber
matting
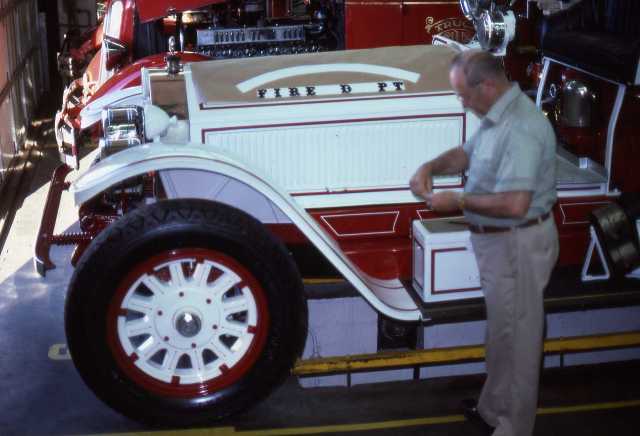
After all the striping is completed, new lettering is applied to the hoods
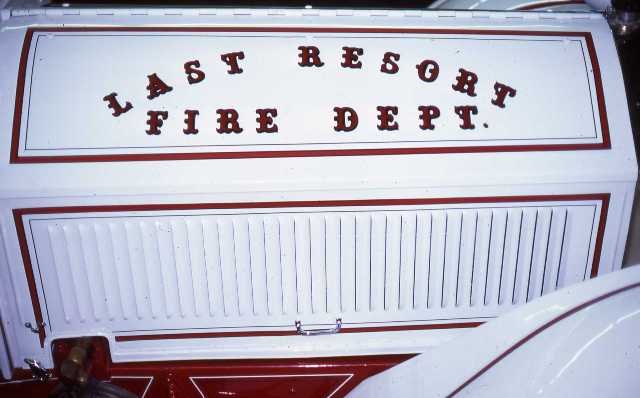
As our "signature" rig, the hood is re-lettered with our name
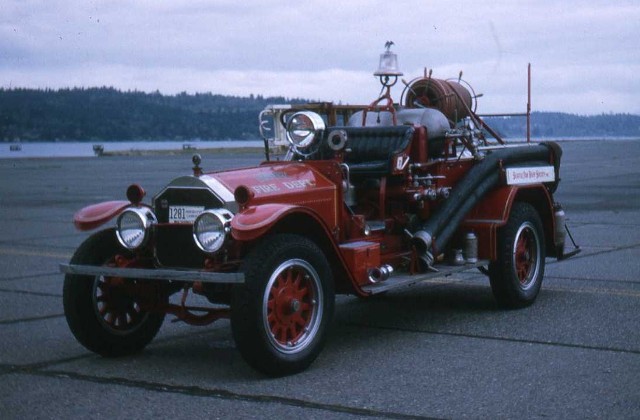
With the job nearing completion, we take a final look at 128's "before"
appearance . . .
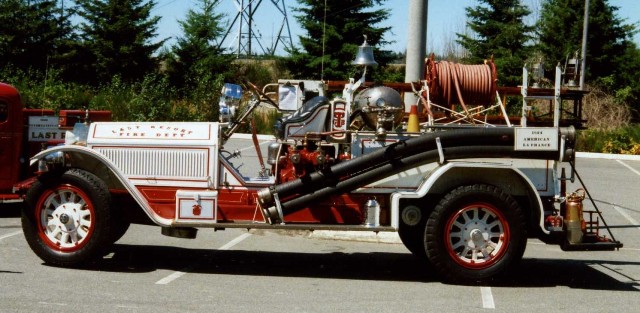
After months of painstaking work, App 128's restoration is finally
complete!

~ Apparatus 131 ~
Straighten crankshaft & replace main bearings

Babbitt flakes in the oil filters during routine maintenance
alerts us of a problem. We discover bolt holding #4 main
bearing is broken causing crankshaft to flex. Engine has to be
removed and torn down. Crankshaft needs to be straightened and new
main bearings poured and line-bored.
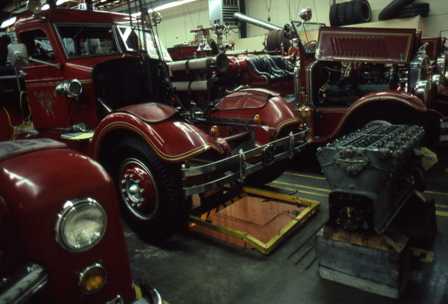
Engine is shown here removed from rig
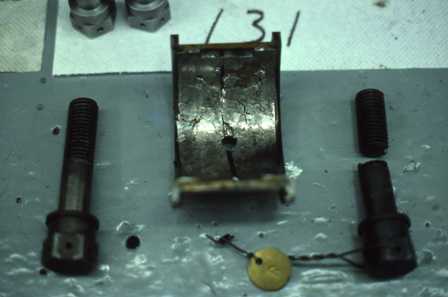
The culprit . . . broken bolt holding #4 main bearing cap
and damaged bearing
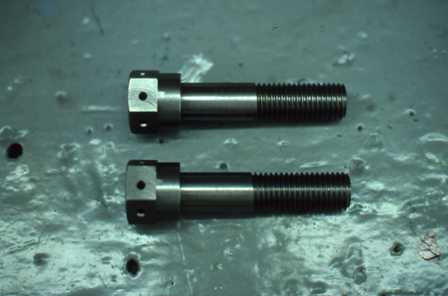
New bolts are machined and ready for installation
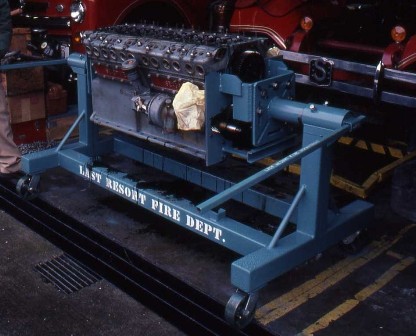
Engine is placed in engine-stand and ready to be transported to
bearing shop
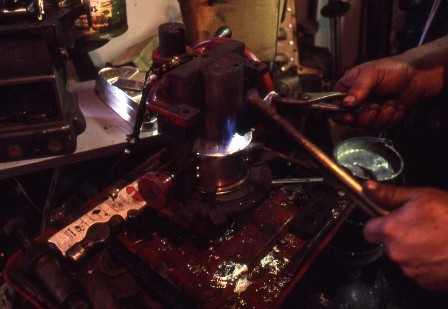
New babbitt bearings being poured
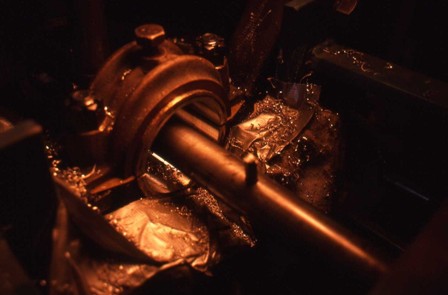
Bearings being line-bored
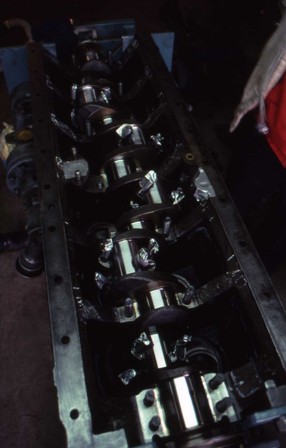
Straightened crankshaft is re-installed in engine
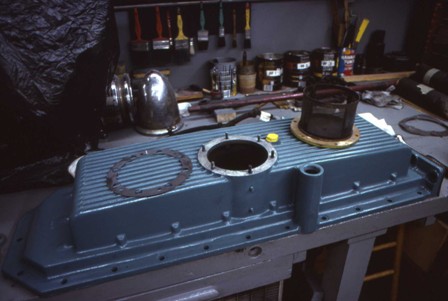 While engine is at bearing shop, we are busy at our facility preparing
for
re-assembly
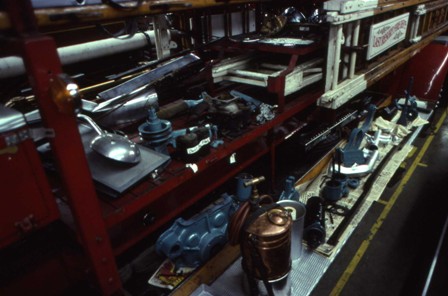
All components and accessories are cleaned and re-painted,
gaskets are made and all brightwork polished
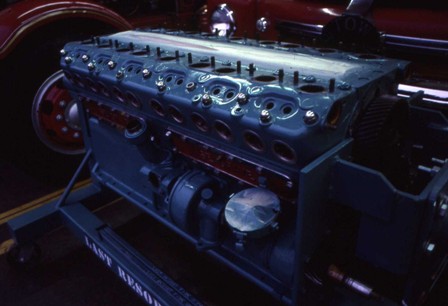
Once the engine is back in our shop, it's primed and repainted while still in the
engine-stand

Flywheel, clutch, clutch-brake and transmission are re-attached
to
engine
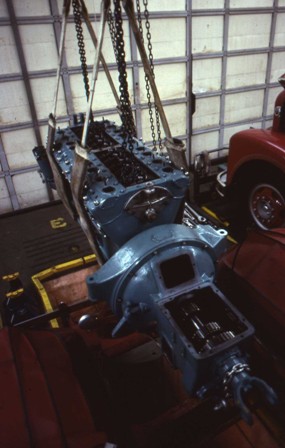
Engine with transmission attached, is positioned over 131's engine
compartment

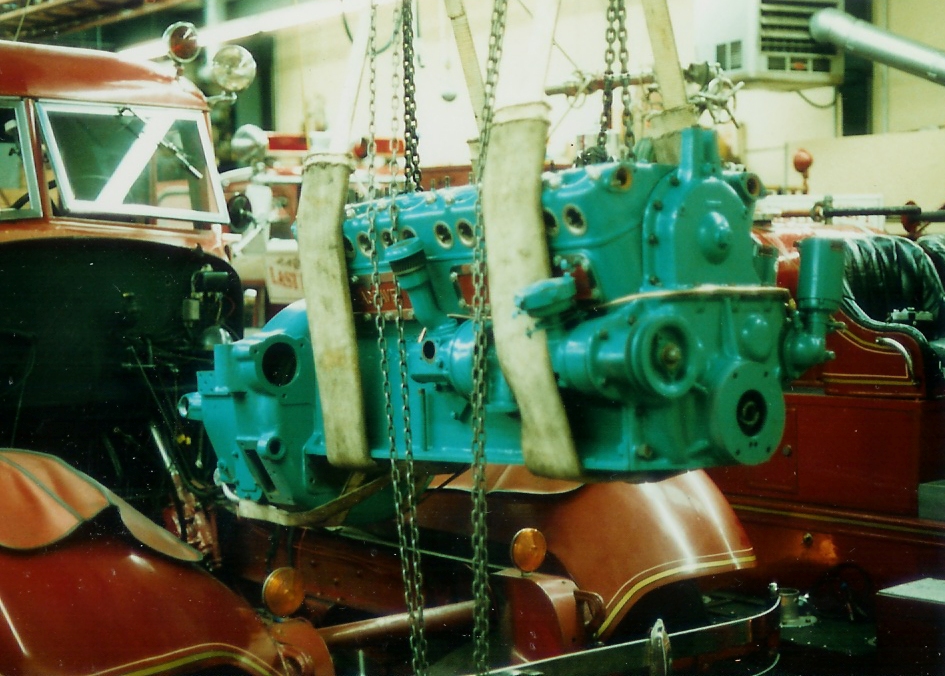
The engine is photographed from
several angles before being re-installed
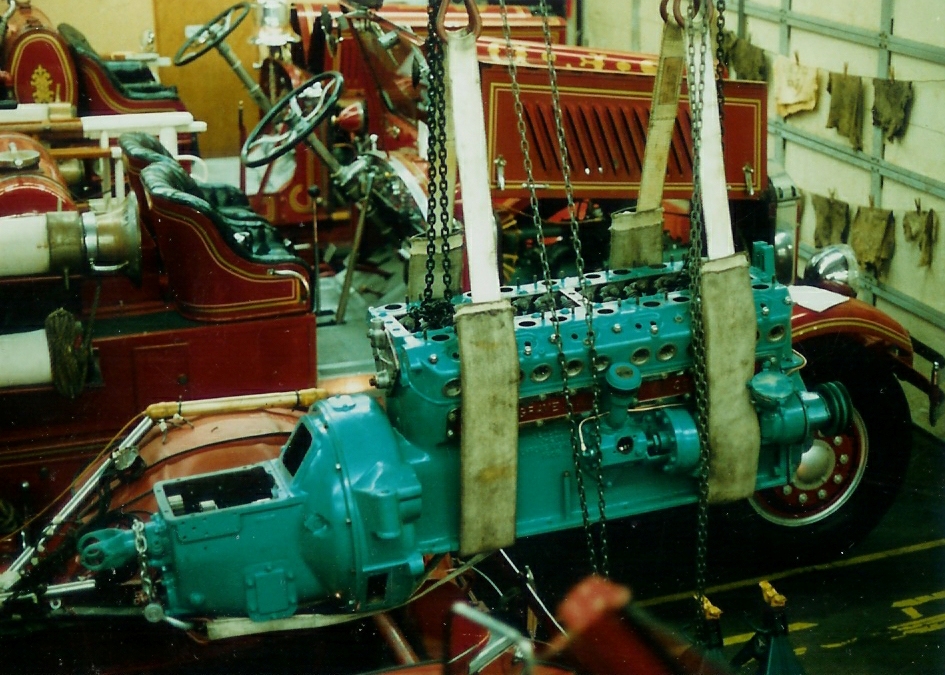

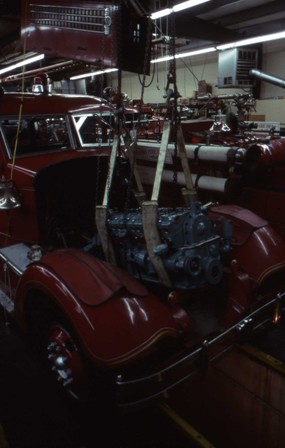
The engine is carefully lowered onto the frame-rails
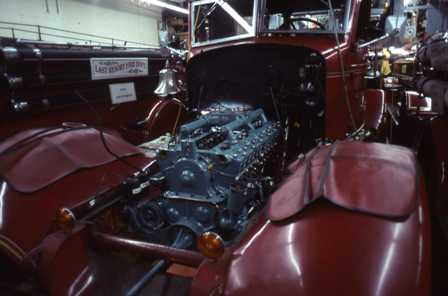
Once the engine is in frame, the driveline, shift tower, parking
brake, and clutch and service-brake linkages are reconnected, as well as
the power-take-off for the aerial.
Intake manifolds are the first components to be reinstalled on the
engine.
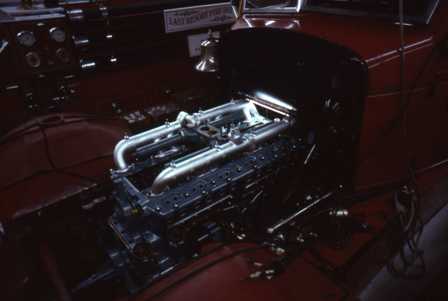
Next are the exhaust manifolds
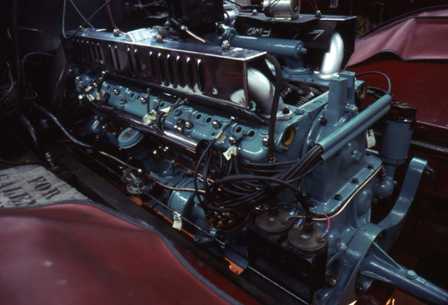
With all accessories in place, only the spark plugs, radiator and water
pipes are left to install
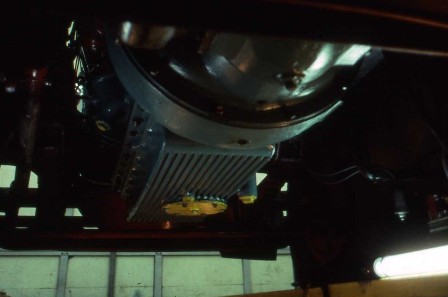
View of the underside of the engine
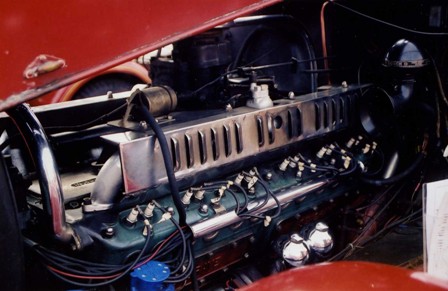
Job completed . . .
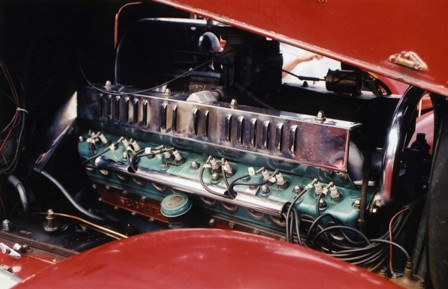
. . . finally!
Note: App. 131 was "out of service" for 293
days, requiring hundreds of volunteer man-hours. Over 360 photos
were taken showing each phase of the project, as well as complete
written documentation from start to finish.

~ Apparatus 198 ~
Replace pistons & rings
and brake reline
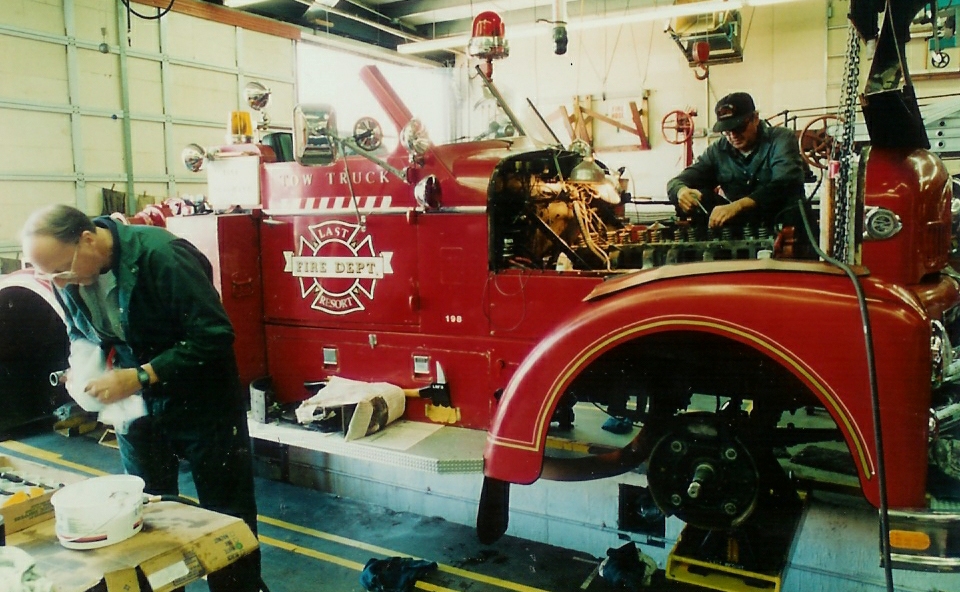
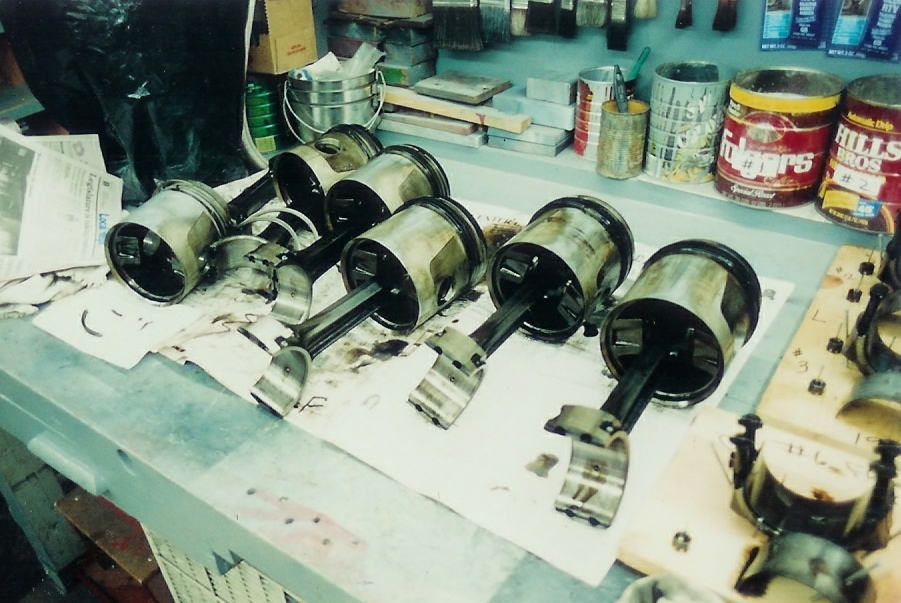
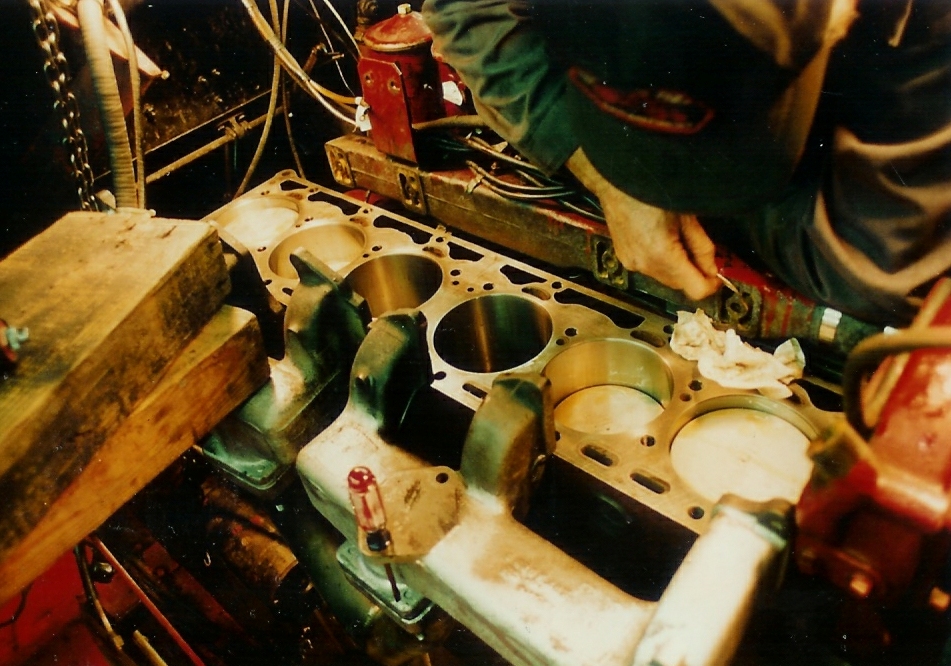

~ Apparatus 272 ~
Swap aerial ladder
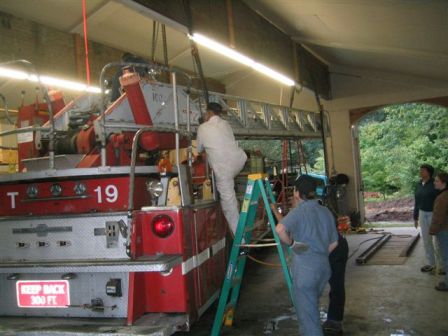 Ex-San Diego rear-mount aerial is headed into shop for ladder removal
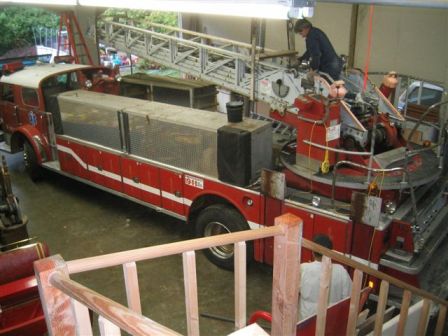 Aerial is rotated until it lines up under overhead hoists
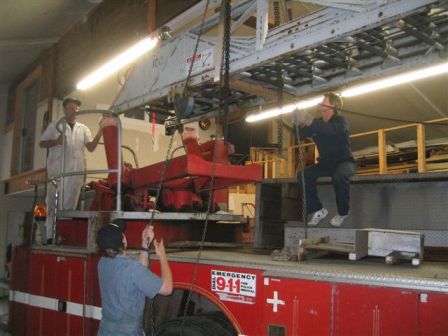 Aerial is removed and suspended above rig
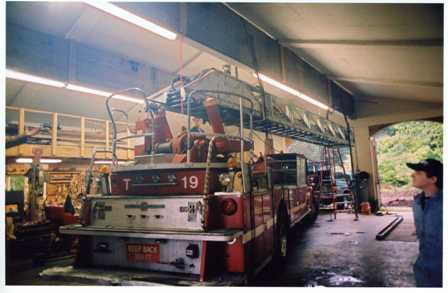 Rear-mount rig is backed out of shop
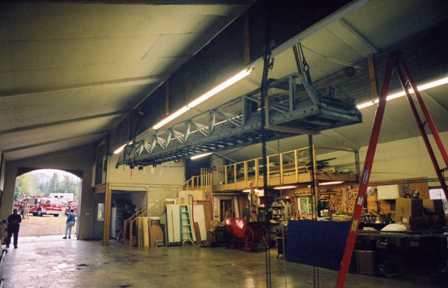 Aerial is shown here suspended from hoists
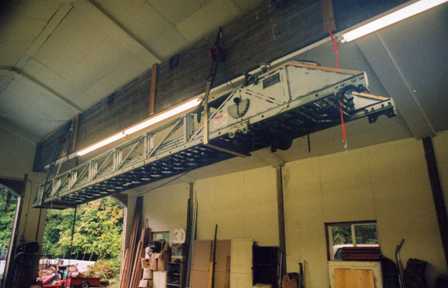 View from the "turntable" end
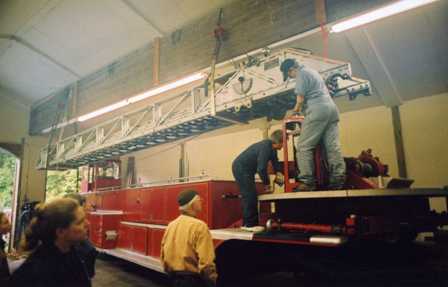 Apparatus 272 is backed in and turntable aligned with suspended aerial
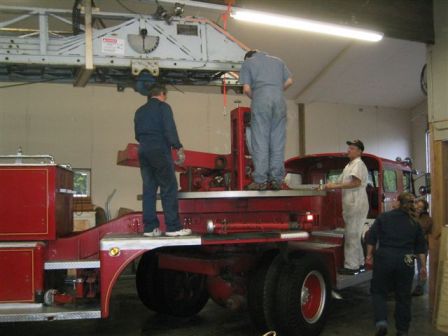 Preparations are underway to begin lowering aerial into position
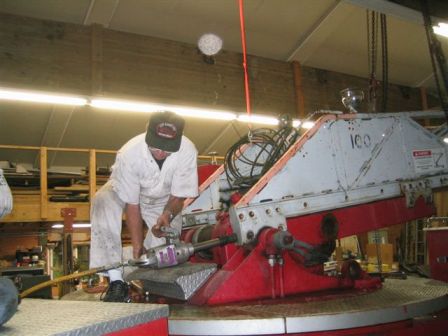 Ladder is secured to Apparatus 272
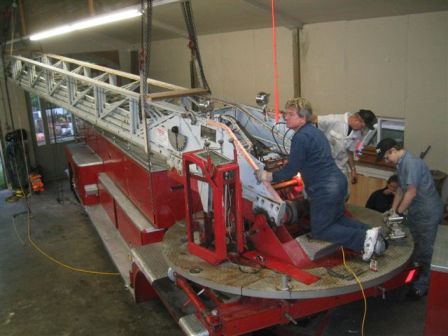 Aerial is ready to be rotated over trailer
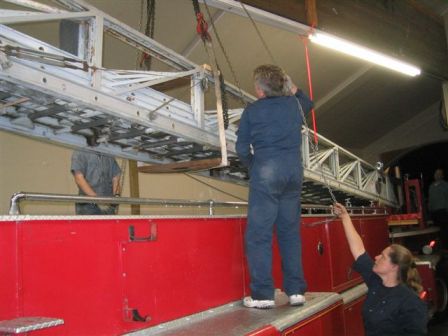 Ready to start lowering
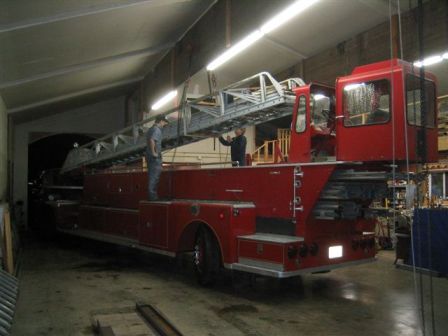 Aerial is slowly lowered onto the trailer
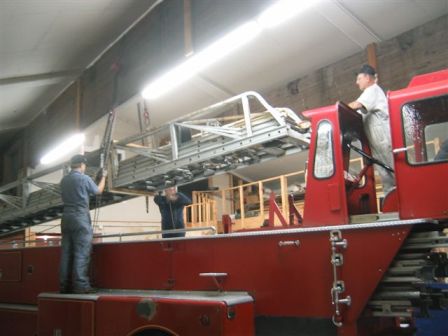 All eyes are watching as the ladder is gently lowered into position
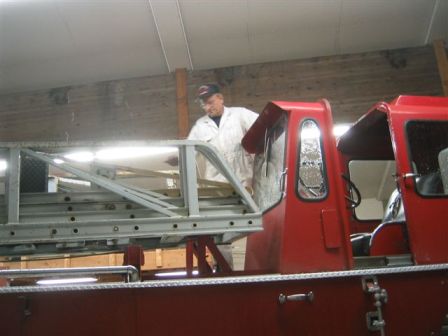 A few more inches and the job will be completed
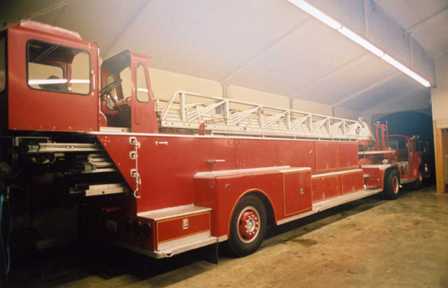 After 15 years, Apparatus 272 is once again an "aerial ladder truck"
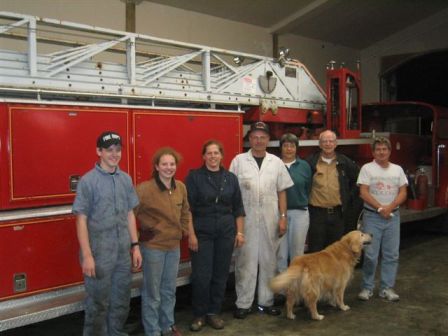 September 19, 2006 . . . the ten-hour project is finally complete

~ Apparatus 316 ~
Paint aerial ladder
.jpg)
The tractor is jack-knifed 90
degrees, then the ladder is supported and extended all the way out
.jpg)
The cleaning, scraping, sanding and wire-wheeling begins
.jpg)
The sanded areas are primed, then the entire aerial is painted silver
.jpg)
The next day, some touch-up is done and the tip of the fly section is
painted white
.jpg)
Painting of turntable area is complete
.jpg)
Close-up
view of hydraulic mechanism
.jpg)
The following weekend, 316 is on display with the sun shining on its
newly painted aerial
More photos coming soon . . .
~ Return to top ~